Who It Suits
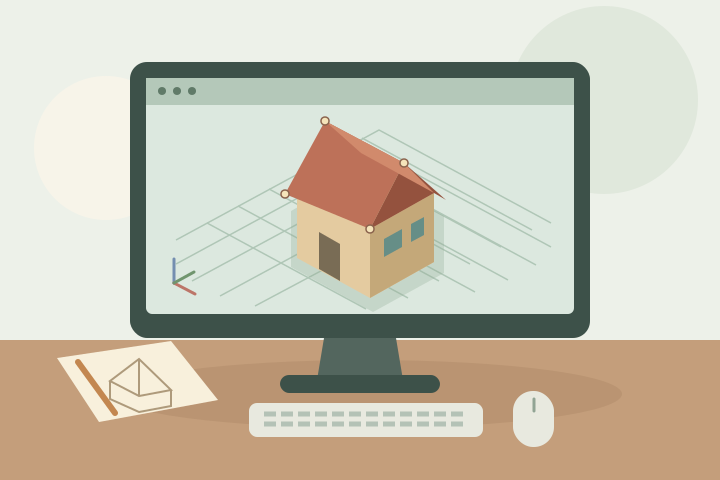
3D modelling is making objects inside a digital space: a tiny cottage, a creature, a piece of furniture, or a part you might eventually print. You can turn the object around, change its proportions, and build a whole scene around it. It suits people who enjoy visual puzzles, drawing, construction toys, or patiently making an imagined thing take shape.
Early sessions involve learning how to move around the screen as much as learning to make objects. Expect some awkward moments with selection and navigation. The reward is being able to revise a design without using up materials, and to make something recognisable from a few simple shapes. You can enjoy the hobby entirely on screen; a 3D printer is optional.
Getting Started
Choose a direction for your first few projects:
- Mesh modelling builds surfaces from points, edges, and faces. It is a useful route for stylised objects, scenes, and game props.
- Digital sculpting lets you push and pull a surface in a way that resembles shaping clay. It suits organic forms, though detailed models can demand more from your computer.
- Computer-aided design (CAD) focuses on dimensions and controlled shapes. It is useful when the goal is a fitted part or an object with precise measurements.
Blender is a free, open-source option with modelling, sculpting, lighting, and rendering tools. It gives you room to explore, but its many controls take time to learn. Tinkercad is a free web app for 3D design and offers a starting route for assembling simple shapes. Pick one tool and one beginner lesson that matches its current interface.
Begin by practising orbit, pan, zoom, select, move, rotate, and scale. Then learn to save and reopen a project. A few terms will help:
- Primitive — a starting shape, such as a cube, sphere, or cylinder.
- Mesh — a surface made from vertices (points), edges, and faces.
- Extrude — extend selected geometry to create more shape, such as pulling a face outward.
- Material — settings that describe a surface’s appearance, including colour and roughness.
- Render — an image calculated from a scene’s camera, objects, materials, and lighting.
Basic Gear
Essential:
- A computer that meets your chosen software’s requirements, or a supported device and browser for a web app.
- A keyboard and a comfortable pointing device. A mouse with a scroll wheel can make navigation easier, though controls vary by app.
- Free modelling software and somewhere to save your projects.
- A simple reference object or a photograph you have taken yourself.
Optional at first:
- A pen tablet if you become interested in digital sculpting.
- A larger monitor or extra storage as projects grow.
- Paid lessons, asset packs, and add-ons once you know what you need.
Try a small scene on your existing computer before considering upgrades. Dense models and elaborate renders are much more demanding than a handful of simple objects.
First Session
Allow about 45–60 minutes to make a little house from basic shapes:
- Start a project and save it with a clear name.
- Add a cube and scale it into the main body of the house.
- Make a roof from a roof primitive if available, or use a flattened cube as a simple flat roof.
- Add thin boxes for a door and two windows. Move around the scene to check that they sit against the walls.
- Give the walls, roof, and door different colours, then place the house on a broad, flat base.
- Save the editable project and capture an image of the viewport. If you already know the camera and lighting controls, try a small render too.
The aim is a finished, recognisable object. Keep the first version, then duplicate it and change one feature so you can compare the results.
First Month
Two or three short sessions each week can give you a steady routine:
- Week one: build simple objects from primitives and practise navigation until you can inspect them from every side.
- Week two: follow one short modelling lesson, then rebuild a similar object without following every click. For a mesh workflow, practise selecting faces and extruding; for CAD, practise dimensions and alignment.
- Week three: make a small scene from three objects, such as a table, stool, and lamp. Name objects clearly and use a limited colour palette.
- Week four: finish a personal variation, save an image, and ask for feedback on one specific thing, such as proportions or readability.
Keep projects small enough to finish. One completed shelf of simple objects teaches more about the whole process than a sprawling scene you never reopen.
Costs
The software cost can be zero with Blender or Tinkercad. If you already have a compatible computer, you can try the hobby without buying specialist equipment. The cost rating assumes access to that device; purchasing a computer changes the budget substantially.
Possible later expenses include input devices, storage, courses, paid assets, and faster hardware. Check your software’s current requirements before any purchase. Printing a model introduces separate equipment or service costs and is a separate step from learning to model.
Space Needed
A desk or table with room for your device and comfortable hand movement is enough. Keep space for a small reference object or sketchbook if you like working from life. Digital projects need storage rather than shelves, so use clear folders and keep a backup of work you would miss.
Solo or Social
Modelling works well as a quiet solo hobby, with an optional social side through classes, art groups, and shared prompts. Friends can each model one object for a little virtual room, or make different interpretations of the same sketch.
When asking for feedback, share an image from more than one angle and explain what you are trying to improve. A focused question about shape or proportions is easier to answer than a general request to judge the whole project.
Common Mistakes
- Starting with a realistic human character or a whole city before finishing a simple prop.
- Watching many tutorials without making anything independently.
- Adding tiny details while the main proportions still feel wrong.
- Checking the model from only one angle.
- Adding unnecessary geometry until the project becomes slow to edit.
- Saving only an exported image or model instead of keeping the editable project.
- Assuming an attractive on-screen model is ready for printing; dimensions, wall thickness, and solid geometry need a separate check.
Safety / Accessibility
Arrange the screen and input device for comfortable use, and pause regularly to change position. Short sessions also make it easier to return with fresh eyes when a modelling problem becomes frustrating.
Explore interface scaling, alternative navigation controls, and shortcut customisation where your app supports them. Menus and on-screen controls may suit you better than memorising many key combinations. Start with a simple scene so selection is easier, and choose written or captioned lessons according to how you prefer to learn.
Where It Can Go
Later projects might include stylised environments, animation props, digital sculpture, furniture concepts, tabletop scenery, or designs for 3D printing. Materials and lighting add another creative direction once shaping objects feels comfortable. You can keep making small scenes for pleasure without needing to pursue professional work or photorealism.
References
Last reviewed: 23 September 2026.
- Blender: Features — official overview of modelling, sculpting, rendering, and other tools.
- Blender: About — the project’s free and open-source approach.
- Autodesk Tinkercad — browser-based 3D design software.
- Autodesk Tinkercad Getting Started Guide — an introduction to the platform and its learning resources.
Related Hobbies
Digital illustration, drawing, and photography offer practice with observation, composition, and colour. Model making, 3D printing, and stop-motion animation provide ways to explore objects and storytelling beyond a single digital image.