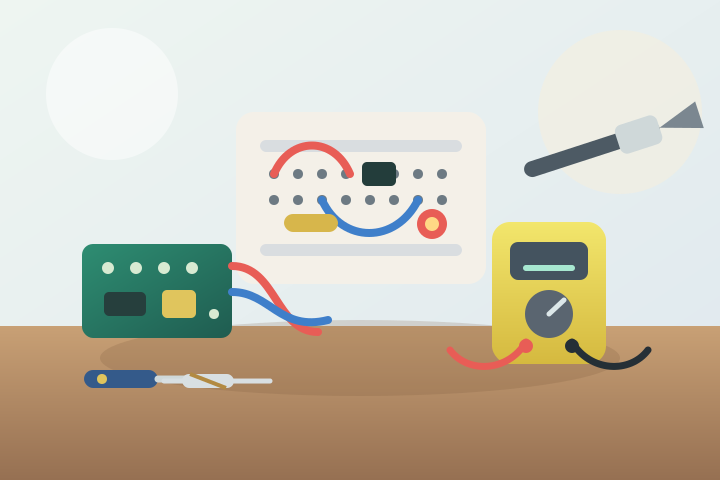
Who It Suits
Electronics suits people who enjoy understanding how things work, solving small practical problems, and turning abstract ideas into working circuits. It works well if you like careful hands-on projects, logical troubleshooting, visible progress, and the satisfaction of making lights, sensors, switches, speakers, or motors respond.
The appeal is concrete: a working circuit is something you can see and test — a light that switches on, a sensor that reacts to your hand, a motor that spins — and each project teaches a little more about how the devices around you work. The honest constraints: small components are fiddly, circuits fail in ways that take patience to diagnose, and the hobby gets more rewarding as you learn to measure and read datasheets rather than guess.
Getting Started
Most beginners start with low-voltage circuits powered by batteries or USB (typically 3–9 V), which are generally safe to touch, rather than mains-powered devices. The standard first tool is a breadboard: a perforated plastic board with metal clips inside that lets you plug in components and rewire them without soldering. You build a circuit, test it, and change it freely; soldering comes later, once a design is proven.
There are two main beginner paths, and they overlap. The first is discrete electronics: resistors, LEDs, switches, capacitors, and transistors wired by hand, which teaches how current flows and how each component behaves. The second is microcontrollers: a small programmable chip (such as an Arduino or micro:bit) that you instruct to blink an LED, read a sensor, or drive a motor. Many people start with a guided breadboard kit or book, then move to a microcontroller once the basics feel familiar.
Basic Gear
Essential:
- A breadboard and a pack of jumper wires.
- A small assortment of resistors, LEDs, buttons, and a few capacitors.
- A safe low-voltage power source: a 9 V battery with holder, an AA battery pack, or a USB power module.
- A digital multimeter — the single most useful tool in the hobby.
- A beginner-friendly project book, kit, or online course.
Optional at first:
- A soldering iron, solder, stand, and ventilation, when you are ready for permanent builds.
- A microcontroller board (Arduino, micro:bit, or similar) for programmable projects.
- Small wire cutters, pliers, and a parts box.
- Helping-hands clips and a magnifier for small work.
First Session
Use the first session to build one tiny circuit on a breadboard: a battery, resistor, LED, and switch. A 220–330 Ω resistor is a common starting value for a red LED on a 5 V supply; the resistor limits the current so the LED does not burn out, and the LED only lights when its long (positive) leg points the right way. Confirm the LED lights, then use a multimeter to measure the battery voltage and check continuity through the switch — continuity mode beeps when the path is complete. Keep the session short and focus on understanding what each part does.
First Month
Use the first month to build several small circuits and repeat the full troubleshooting process. Try a blinking LED, a light sensor, a buzzer, a simple motor driver, and one soldered practice board. A few terms do most of the work:
- Resistor — limits current; values are marked by a colour code and measured in ohms (Ω).
- Capacitor — stores charge briefly; many are polarised, so orientation matters.
- Polarity — which way a component faces; LEDs, capacitors, and batteries all have a positive and negative side.
- Continuity — whether a path for current is complete; the multimeter’s beep mode checks it.
- Datasheet — the manufacturer’s specification for a component, including its maximum voltage and current.
Keep notes about component values, polarity, wiring changes, and mistakes so patterns become easier to spot.
Costs
Electronics can start cheaply. As of mid-2026, a breadboard starter kit typically costs around US$15–40, a basic digital multimeter around US$15–30, and a simple soldering iron with solder around US$25–60; prices vary by region and change over time, so check current listings before budgeting. Costs rise with microcontroller boards, sensors, enclosures, batteries, test equipment, spare parts, and project-specific modules. Buying component assortments is useful, but only after you know which parts you actually use.
Lower-cost routes exist: makerspaces and fab labs often lend tools and parts for a modest membership, many public libraries and schools run electronics or robotics programs, and the micro:bit is designed for education and is widely available at low cost.
Space Needed
A small desk or tray is enough for beginner electronics. Good lighting, ventilation for soldering, a heat-safe surface, and organized storage matter more than floor space. Tiny parts are easy to lose, so labelled boxes or drawers make the hobby much less frustrating.
Solo or Social
Electronics is often a quiet solo hobby, but it has a strong social side through maker spaces, repair cafés, radio clubs, robotics teams, online forums, and local workshops. Repair café events, for example, pair people with broken devices and willing fixers, and are a low-pressure way to watch experienced people diagnose real faults. Sharing clear photos of a circuit and its wiring is one of the fastest ways to get useful help.
Common Mistakes
- Working on mains voltage before learning low-voltage safety.
- Forgetting resistor values or LED polarity.
- Powering a circuit before checking the wiring.
- Changing several things at once while troubleshooting.
- Buying advanced tools before learning a multimeter.
- Soldering permanent joints before proving the circuit on a breadboard.
- Using leaded solder without ventilation or washing hands afterwards.
- Assuming a component is faulty before measuring it.
Safety / Accessibility
Stay with low-voltage battery or USB-powered circuits while learning. Household mains electricity (110–240 V depending on country) is a serious shock and fire hazard, so avoid opening power supplies, appliances, or mains-powered devices unless trained; the OSHA electrical safety page is a good reference for why. Watch for hot soldering irons (tips run around 300–400 °C), flux fumes, sharp wire ends, short circuits, damaged batteries, and small parts.
Solder fumes deserve attention: soldering releases fumes from flux and, with older leaded solder, lead particles. Work in a ventilated area, use lead-free solder where you can, and wash your hands after soldering; NIOSH’s lead guidance covers the health risks of lead exposure. Lithium batteries (such as 18650 cells) can overheat or catch fire if punctured, shorted, or overcharged, so store them in protective cases and take damaged or swollen cells to a proper recycling point rather than the bin.
Good lighting, magnification, larger breadboards, helping-hands clips, labelled storage, and pre-cut jumper wires can make electronics easier to handle. The hobby is well suited to seated work and can be adapted for limited hand strength or dexterity.
Where It Can Go
Electronics can lead toward robotics, Arduino or microcontroller projects, home automation, audio gear, radio, repair, wearable tech, model lighting, synth building, smart sensors, 3D-printed enclosures, or engineering study.
References
Last reviewed: 17 August 2026.
Official safety sources:
- OSHA: Electrical for the hazards of working with electricity — shock, electrocution, and fire — and why mains work needs training.
- NIOSH: Lead in the Workplace for the health risks of lead exposure, including from leaded solder fumes.
Specialist guides:
- Adafruit Learning System for free beginner electronics tutorials, component guides, and project walkthroughs.
- Arduino Documentation and Arduino Tutorials for microcontroller setup, wiring, and step-by-step projects.
- Micro:bit Educational Foundation for a beginner-friendly programmable board with block coding and Python, widely used in schools.
Community resources (optional):
- Repair Café for finding local repair café events where you can watch or help with real device repairs.
Related Hobbies
Robotics, 3D printing, model making, amateur radio, home recording, photography, Lego building, and woodworking all connect with electronics through systems thinking, careful assembly, measurement, and troubleshooting.