Who It Suits
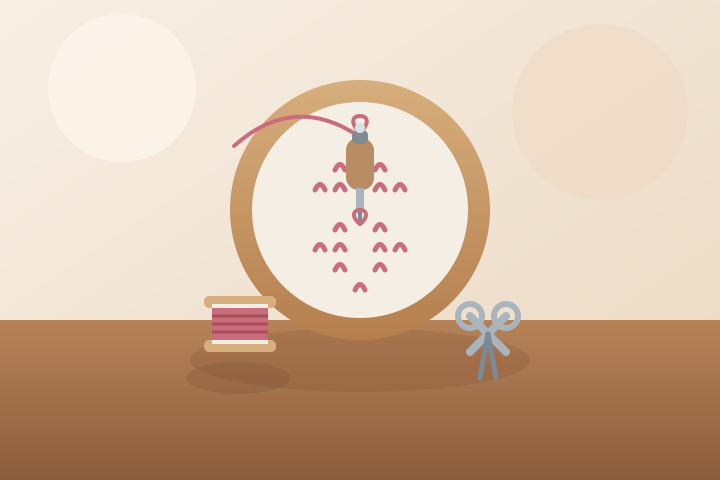
Punch needlework is a textile craft in which a special tool — the punch needle — carries a loop of thread through fabric held in a hoop. Each punch pushes the loop through and leaves it sitting on the surface like a row of tiny, even knots, so the finished piece has a plush, tapestry-like texture. You do not tie, knot, or stitch by hand; the tool does the loop-forming, and your job is to follow a pattern and keep the tension even.
It suits people who like embroidery or weaving but want something faster and more forgiving: the loops are uniform, mistakes are easy to undo, and a small piece can be finished in a few sessions. The honest appeal: it is cheap to start, needs only a hoop and a table, and the texture is satisfying to see build up stitch by stitch. The honest constraints: progress is repetitive, large pieces take many hours, and the fabric, thread, and needle gauge all have to work together or the loops look uneven.
Punch needlework sits between embroidery and tapestry weaving: the loops it makes are essentially weft threads standing on the surface of the cloth. The technique has deep roots in tapestry and looped textile traditions, and the modern punch needle tool — a hand-held device that forms the loop mechanically — became widely available in the 1970s, which is when the craft took off as a home hobby.
Getting Started
A beginner’s first task is to learn the two directions of work, because everything else follows from them:
- Face-up — the needle enters the fabric from the front and the loops form on the front. The result is plush and nubby, like a small tapestry. This is the classic look and the easiest to judge while working.
- Face-down — the needle enters from the back and the loops form on the back, so the front of the piece looks like smooth, flat embroidery. This is the direction to use for cushions, bags, and anything that will be handled.
- Gauge — the size of the punch needle. Needles are sold in numbered gauges, and a higher number means a larger needle and a larger loop. A mid-size gauge (often 3 or 4) is a common starting point; finer gauges give finer detail, coarser gauges build up faster.
- Evenweave fabric — fabric with a regular, open weave (aida, monk’s cloth, or evenweave linen) that the needle can pass through cleanly. The weave count has to match the needle gauge: too fine a weave and the loops crowd, too open and they sag.
- Hoop — an embroidery hoop that holds the fabric drum-tight. Tension is the whole game in punch needlework.
Patterns are usually simple geometric designs — diamonds, hearts, leaves, borders — worked as a grid of punched holes. Learn the face-up direction on a scrap first, because undoing a punch means pulling the loop back out, and you want to know how that feels before starting a real piece.
Basic Gear
Essential:
- A punch needle in a mid-size gauge, with a loop of thread already formed at the tip.
- Embroidery floss, perle cotton, or wool yarn — wool gives the plush classic look; perle cotton is easier to control for a first piece.
- Evenweave fabric in a count that suits the needle gauge.
- An embroidery hoop, 10–15 cm is a good first size.
- Scissors.
Optional at first:
- A second punch needle in a finer or coarser gauge for later projects.
- A pattern book or printed grid patterns.
- A fabric marker or water-soluble pen for marking the pattern.
- A needle threader, if forming the loop at the tip feels fiddly.
First Session
Thread the punch needle, mount a square of evenweave fabric in the hoop, and practise punching a straight row of loops face-up. Keep the needle perpendicular to the fabric, punch through the same spot each time, and check that the loops sit at the same height. Then punch a second row beside the first and see how the texture builds. A short sampler — a few rows in two thread colours — is more useful than a full pattern, because it teaches you how your tension and fabric count work together before you commit to a design.
First Month
During the first month, make several small pieces with different threads and, if possible, one piece worked face-down. A workable sequence: a simple diamond or heart face-up (the classic first project), then a border or band around a square, then a small coaster or cushion patch worked face-down so the finished side is smooth. Keep notes on which fabric count and needle gauge gave you even loops, because that combination is the most common source of frustration and the easiest thing to fix once you know your pair.
By the end of the month you should be able to mount fabric at the right tension, follow a grid pattern without marking every hole, switch thread colours cleanly, and finish an edge so the loops do not unravel.
Costs
Punch needlework can start cheaply: a punch needle, a hoop, a square of evenweave fabric, and a few strands of floss or wool is a modest one-off purchase (roughly a few pounds or dollars for the essentials, depending on where you shop; prices vary by region and change over time, so check current listings before budgeting). Many beginner patterns are free online. Costs rise with premium wool, finer gauges, larger fabric, pattern purchases, and finishing materials such as backing fabric and binding for cushions and bags.
Space Needed
Punch needlework needs very little space: a hoop, a needle, and a thread spool fit on a desk, table, or lap. The only real requirement is a stable surface and good light, because you are working a fine grid and judging loop height by eye.
Solo or Social
Punch needlework works well alone because the rhythm is steady and easy to pause and resume. Local craft shops, makerspaces, and community centres often run punch needle workshops, and craft nights, market stalls, and gift-making sessions make it social — it is an easy craft to share because a group can each work a section of a larger piece, or beginners can compare loop tension and pattern progress.
Common Mistakes
- Starting with a large, detailed pattern before the basic punch feels natural.
- Leaving the fabric too loose in the hoop, so loops form at uneven heights.
- Pulling the thread too tight, which crushes the loops and flattens the texture.
- Using a fabric count that does not suit the needle gauge.
- Mixing face-up and face-down directions in the same piece by accident.
- Running out of thread in the middle of a row and leaving a visible join.
- Skipping the sampler, then discovering the tension is wrong on a finished piece.
Safety / Accessibility
The punch needle is sharp, so the main concerns are puncture and repetition:
- Puncture risk — keep fingers well back from the needle point, work on a stable surface, and never pass the needle across your body.
- Repetitive strain — the same punching motion for an hour or more tires hands, wrists, and shoulders. The NHS describes repetitive strain injury (RSI) as pain caused by repeated movement, and advises keeping active, taking breaks, and seeing a GP if pain does not go away or gets worse. In practice: take regular breaks, keep your wrist relaxed, and stop before your grip gets sloppy.
- Children — the needle is sharp and loose thread and small pattern pieces are a choking hazard for young children, so keep the work area supervised if children are around.
Good lighting, larger gauges, pre-marked patterns, and shorter sessions can help with eye strain, grip fatigue, or fine-motor difficulty.
Where It Can Go
Punch needlework can lead toward wall hangings, cushions, bags, tapestries, mixed-media textile pieces, and combining punch needle with embroidery, appliqué, or weaving for layered texture. Most people stay in the casual tier — coasters, ornaments, cushions, and gifts — and that is a complete hobby in itself; the technical tiers (large tapestry-like pieces, fine multi-gauge work, teaching) build on the same basic punch.
References
Last reviewed: 18 August 2026.
Safety:
- NHS, Repetitive strain injury (RSI) — guidance on causes and self-care for hand, wrist, and shoulder strain from repetitive activity.
Background:
- Victoria and Albert Museum collections — search “tapestry” and “looped” to see the woven and looped textile traditions that punch needlework descends from.
Related Hobbies
Embroidery, cross-stitch, needle felting, weaving, macrame, sewing, quilting, crochet, and dollhouse miniatures all sit nearby because they involve material choice, hand rhythm, pattern control, and textured finished pieces.