Who It Suits
Kite making brings together table-top craft and the pleasure of watching something you built leave the ground. You measure, cut, assemble, and decorate a lightweight structure, then see how it behaves outdoors. It suits curious makers, patient tinkerers, and families who like a project with a shared outing at the end.
The satisfying part is having both an object and an experiment: a kite can look beautiful on a wall, but flying gives you another way to judge your work. Expect some repairs and repeat attempts. Building can fit into an evening at home; testing depends on suitable weather and access to open space.
Getting Started
Choose a small single-line kite from a published beginner plan. Look for a complete materials list, dimensions, attachment points, and flying instructions. A paper sled or simple diamond is a manageable starting project; save large display kites and sewn designs for later. The American Kitefliers Association’s kite plans provide a starting collection.
Follow the specified size and materials on your first build. Strength, weight, balance, and bridle arrangement all matter, so changing several things at once makes problems harder to diagnose. The AKA’s making guide explains why a proven design is useful before trying your own shapes.
Useful words in a plan include:
- Sail — the paper, film, or fabric surface that catches the wind.
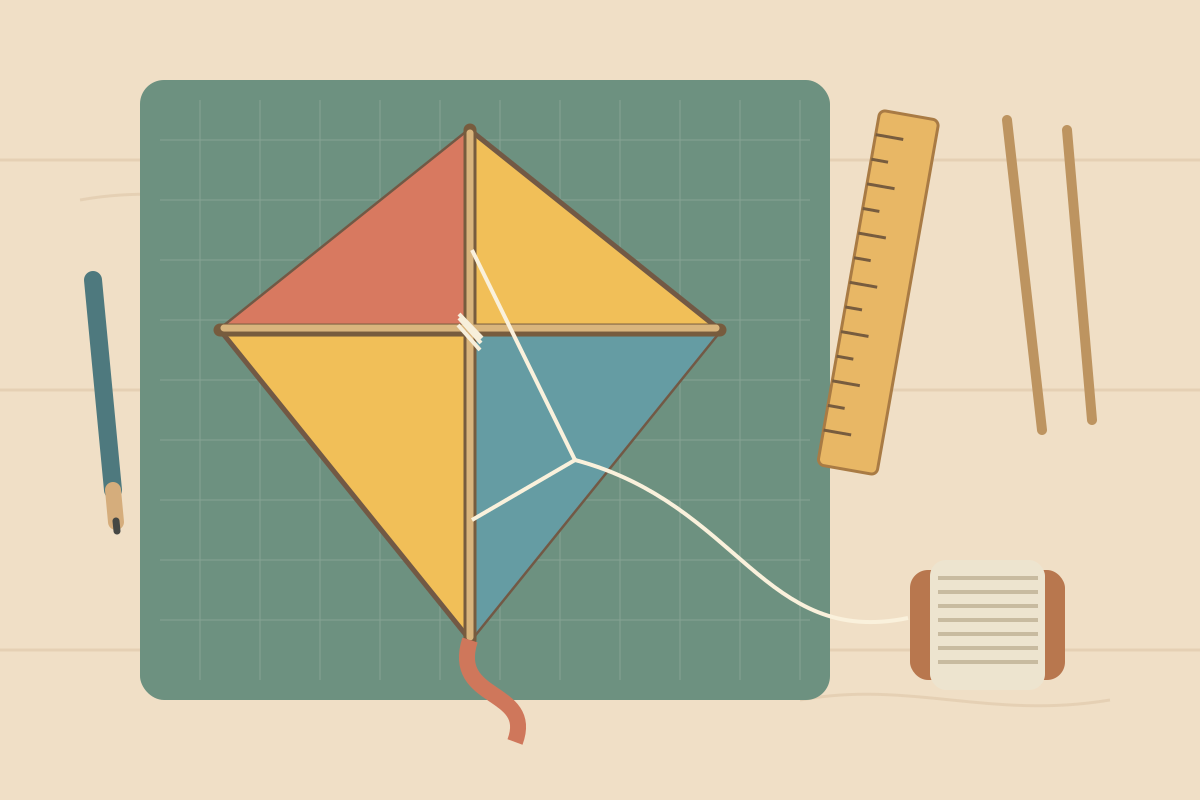
- Spars — the rods that support the sail; the lengthwise rod is often called the spine.
- Bridle — the short line or lines connecting the kite to its flying line.
- Tow point — the point on the bridle where the flying line attaches.
- Tail — a trailing strip or ribbon used by some designs for stability.
Basic Gear
- One beginner plan, printed or available beside your work surface.
- Lightweight sail material and spars in the sizes the plan specifies.
- A ruler, pencil, scissors, and a protected cutting surface.
- Tape or adhesive suitable for the chosen material.
- Bridle cord, purpose-made kite line, and a winder appropriate to the design.
- Lightweight tail material if required.
- A small bag for offcuts and a folder for the plan and notes.
Borrow ordinary craft tools where possible. A sewing machine, specialist fabric, and a large supply of rods can wait until you know which designs you enjoy building.
First Session
Set aside an unhurried hour or two for a simple build, allowing extra time for any adhesive to dry. Treat this as a suggested session length rather than a deadline.
- Read the whole plan and lay out the materials. Mark the top, bottom, and attachment points before cutting.
- Make the sail and frame in the plan’s order. Check that matching sides line up before securing the joins.
- Add reinforcement only where needed, then fit the bridle and any required tail. Keep the diagram beside you while tying the attachment points.
- Use light decoration and let everything dry. Put your name and the build date on the plan so you can record changes later.
- Check the finished kite against the drawing and pack it flat for its first outing.
For a first flight, choose steady wind suited to the design. Stand with your back to the wind and use a helper for launch if needed. If the kite repeatedly dives or spins, bring it down and check the setup before retrying. Avoid treating stronger wind as the cure for a reluctant kite. The AKA’s flying guide explains launching and common flight problems.
First Month
Spend the first week finishing one kite and preparing a repair kit. In the second week, aim for a short test session and write down what happened: whether it launched, which way it leaned, and whether the wind stayed steady.
Use the next sessions to make one small, plan-guided adjustment at a time. Keep a record of the original setting so you can undo an unsuccessful change. Finish the month by rebuilding the same design more neatly or helping someone else make one. Both are useful ways to notice which steps you now understand.
A reasonable first milestone is a kite you can assemble, launch, land, and repair with confidence. There is no need to progress to a larger model to make the hobby worthwhile.
Costs
Keep the first project inexpensive by choosing a plan that uses materials you already have. Make a shopping list before buying: sail material, spars, tape, bridle cord, and a suitable line and winder. Reused paper may cover part of the build, but it does not replace proper flying equipment.
Set a small project budget and compare the cost of loose materials with a complete beginner kit. Later expenses can include ripstop fabric, replacement spars, sewing supplies, and storage. Finish and test a first kite before buying materials for several more.
Space Needed
A clear table is enough for a small kite. You need room to lay out the whole sail without folding it accidentally, plus somewhere safe to leave drying joins and store a fragile frame. A flat cardboard sleeve can help protect a paper kite between sessions.
Flying needs much more space than making. Arrange access to an open field or suitable beach, with room for the kite and line to move without crossing other people’s activities. A sheltered garden can be a pleasant workshop but a poor flight-testing site.
Solo or Social
Working alone suits the measuring and assembly stages. With a friend, one person can check the plan while the other builds, then swap roles. For a family session, divide the work into measuring, decorating, and supervised assembly so everyone has a useful part.
A kite-making workshop can be especially helpful when a finished model refuses to fly. Bring your plan and notes as well as the kite: that makes it easier to explain what you have already tried.
Common Mistakes
- Choosing an elaborate shape before completing a simple plan.
- Substituting heavy sticks or thick card without considering the design.
- Adding generous layers of tape and decoration that weigh down the sail.
- Guessing bridle attachment points instead of marking them accurately.
- Changing the tail, bridle, and frame together, then losing track of what helped.
- Leaving a delicate kite loose in a bag or car between outings.
- Calling a build a failure after one test in unsuitable weather.
Safety / Accessibility
Supervise children with scissors and tools, smooth rough spar ends, and follow adhesive instructions. Pre-cut parts and pre-measured cord can simplify a group session. A seated work surface, large-print plan, bright task light, and a helper for knots can make the craft more comfortable.
Fly clear of power lines, roads, people, animals, and airports; check local site and airspace restrictions. Never fly in wet or stormy weather or use wire or metallic flying line. If a kite catches on a power line, leave it and contact the electricity provider. Use a winder rather than wrapping line around fingers, and collect all broken line and scraps. See the AKA’s kite safety guidance before taking a new build out.
For an accessible outing, choose a reachable open site and share launching and retrieving with a helper. Making and decorating a display kite is also a satisfying option when outdoor testing is impractical.
Where It Can Go
Once a basic design feels familiar, try a different sail pattern, learn to sew a fabric version, or explore box kites and other three-dimensional structures using established plans. Keep photographs and flight notes to build your own small design notebook.
You might enjoy making gifts, running a supervised craft session, or repairing older kites. A collection of small, well-used designs can be just as rewarding as one elaborate showpiece.
Related Hobbies
Kite flying, sewing, origami, model making, paper cutting, woodworking, and painting share parts of the process, from precise construction to surface design and outdoor testing.
References
Last reviewed: 23 September 2026.
- American Kitefliers Association: Kite Plans — plans and construction resources.
- American Kitefliers Association: How to Make a Kite — design considerations and workshop resources.
- American Kitefliers Association: How to Fly a Kite — conditions, launches, and troubleshooting.
- American Kitefliers Association: Kite Safety — choosing a safe location and handling equipment responsibly.